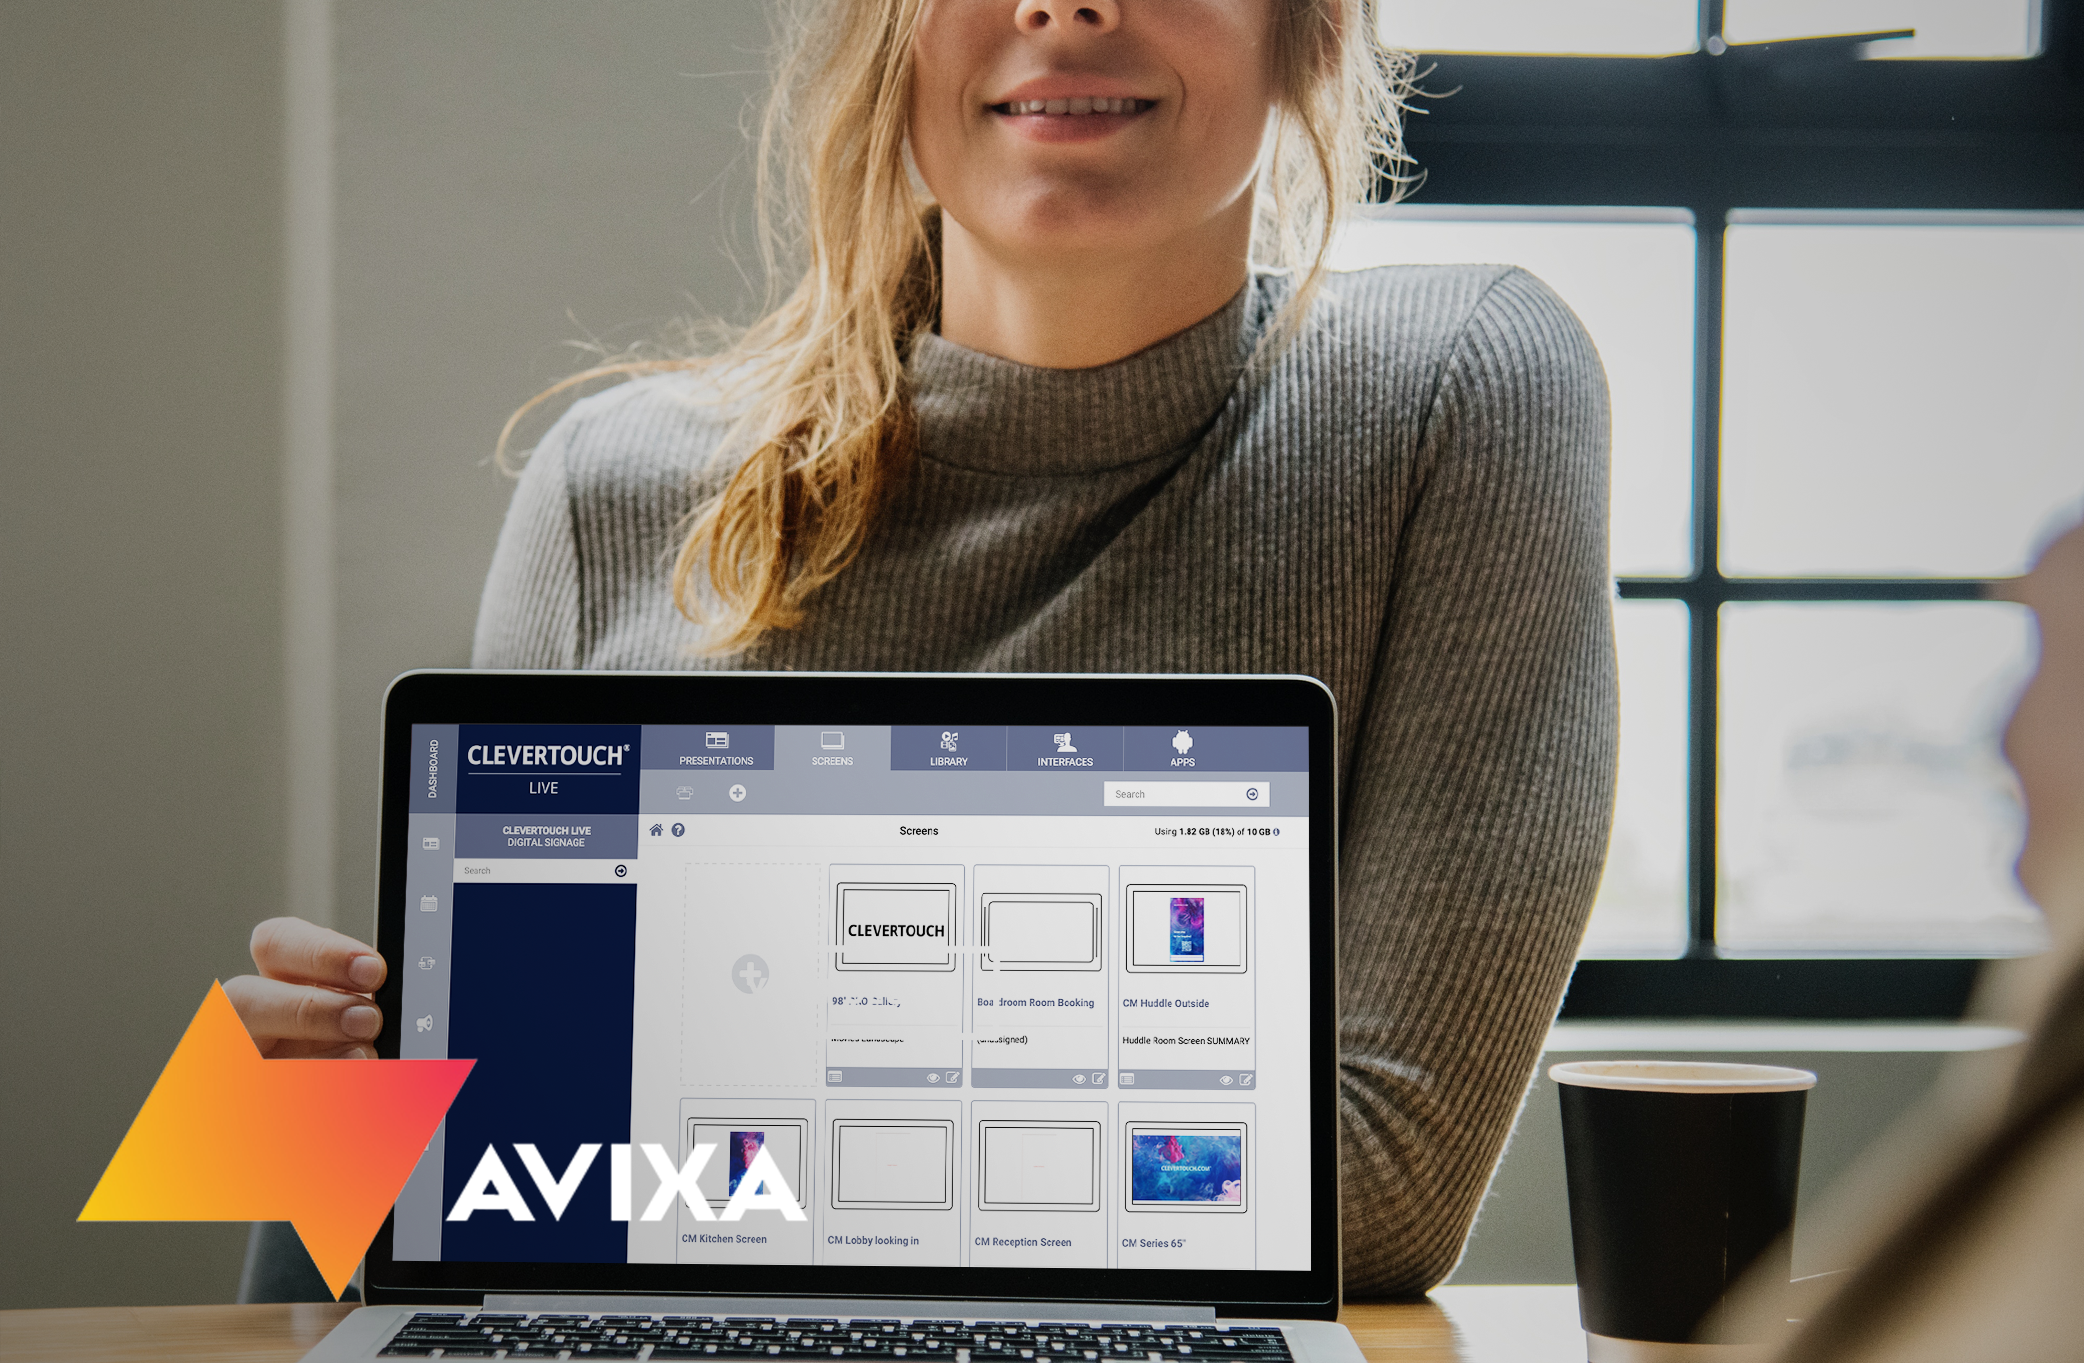
Lesson 3 – Exercise 1: Setting up your Digital Signage preferences on a CM Series Screen

Use the remote control to enter the setup menu

Step 1: Select the Language from the menu.

Step 2: Select the time zone from the menu

Step 3: When prompted enter a PIN

Step 4: When prompted on the 2ND Tab labelled Signage Settings select ‘enable’ next to the Digital Signage option under ‘Set ID’

Step 5: Whilst on the digital signage input, press right on the remote control and then press enter. You will now see the screen below:

Note: If you receive the following screen this means that the WIFI has not been set up or the LAN cable is not connected to the Android LAN port.

Note: Before proceeding onto the next exercise, please mark this one complete (pink button), to ensure smooth progression into the next lesson.